

Self-Tanning Tools That Actually Make a Difference
I. Introduction
A flawless self-tan isn’t just about the formula you use — it’s about how you apply it.
Many uneven tans, streaks, or patchy results happen not because of the product itself, but because the wrong tools were used.
The right self-tanning tools can completely change the outcome, helping you achieve a smoother, more natural-looking glow with less effort. In this guide, we’ll break down the tools that truly make a difference — and how to use them correctly.


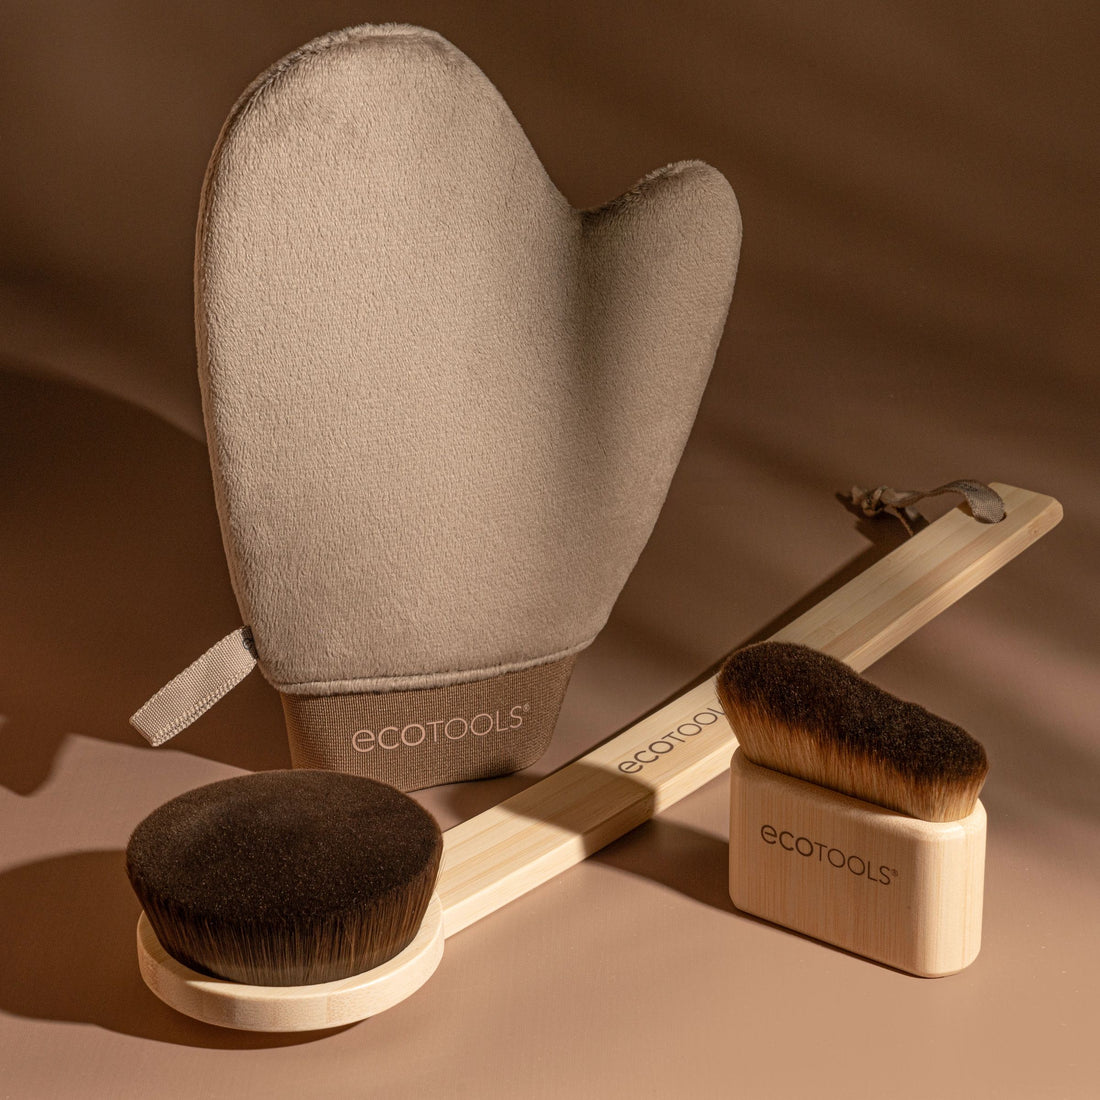
II. Essential Self-Tanning Tools
Not all self-tanning tools are created equal. These essentials form the foundation of a streak-free tan.
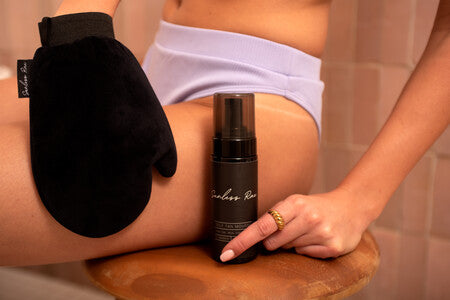
Tanning Mitts
Mitts are designed to evenly distribute product while preventing stained hands. A high-quality mitt blends self-tan smoothly and reduces harsh lines.
Exfoliation Tools
Prepping your skin is non-negotiable. Gentle exfoliation removes dead skin cells, allowing self-tan to adhere evenly and fade more naturally.
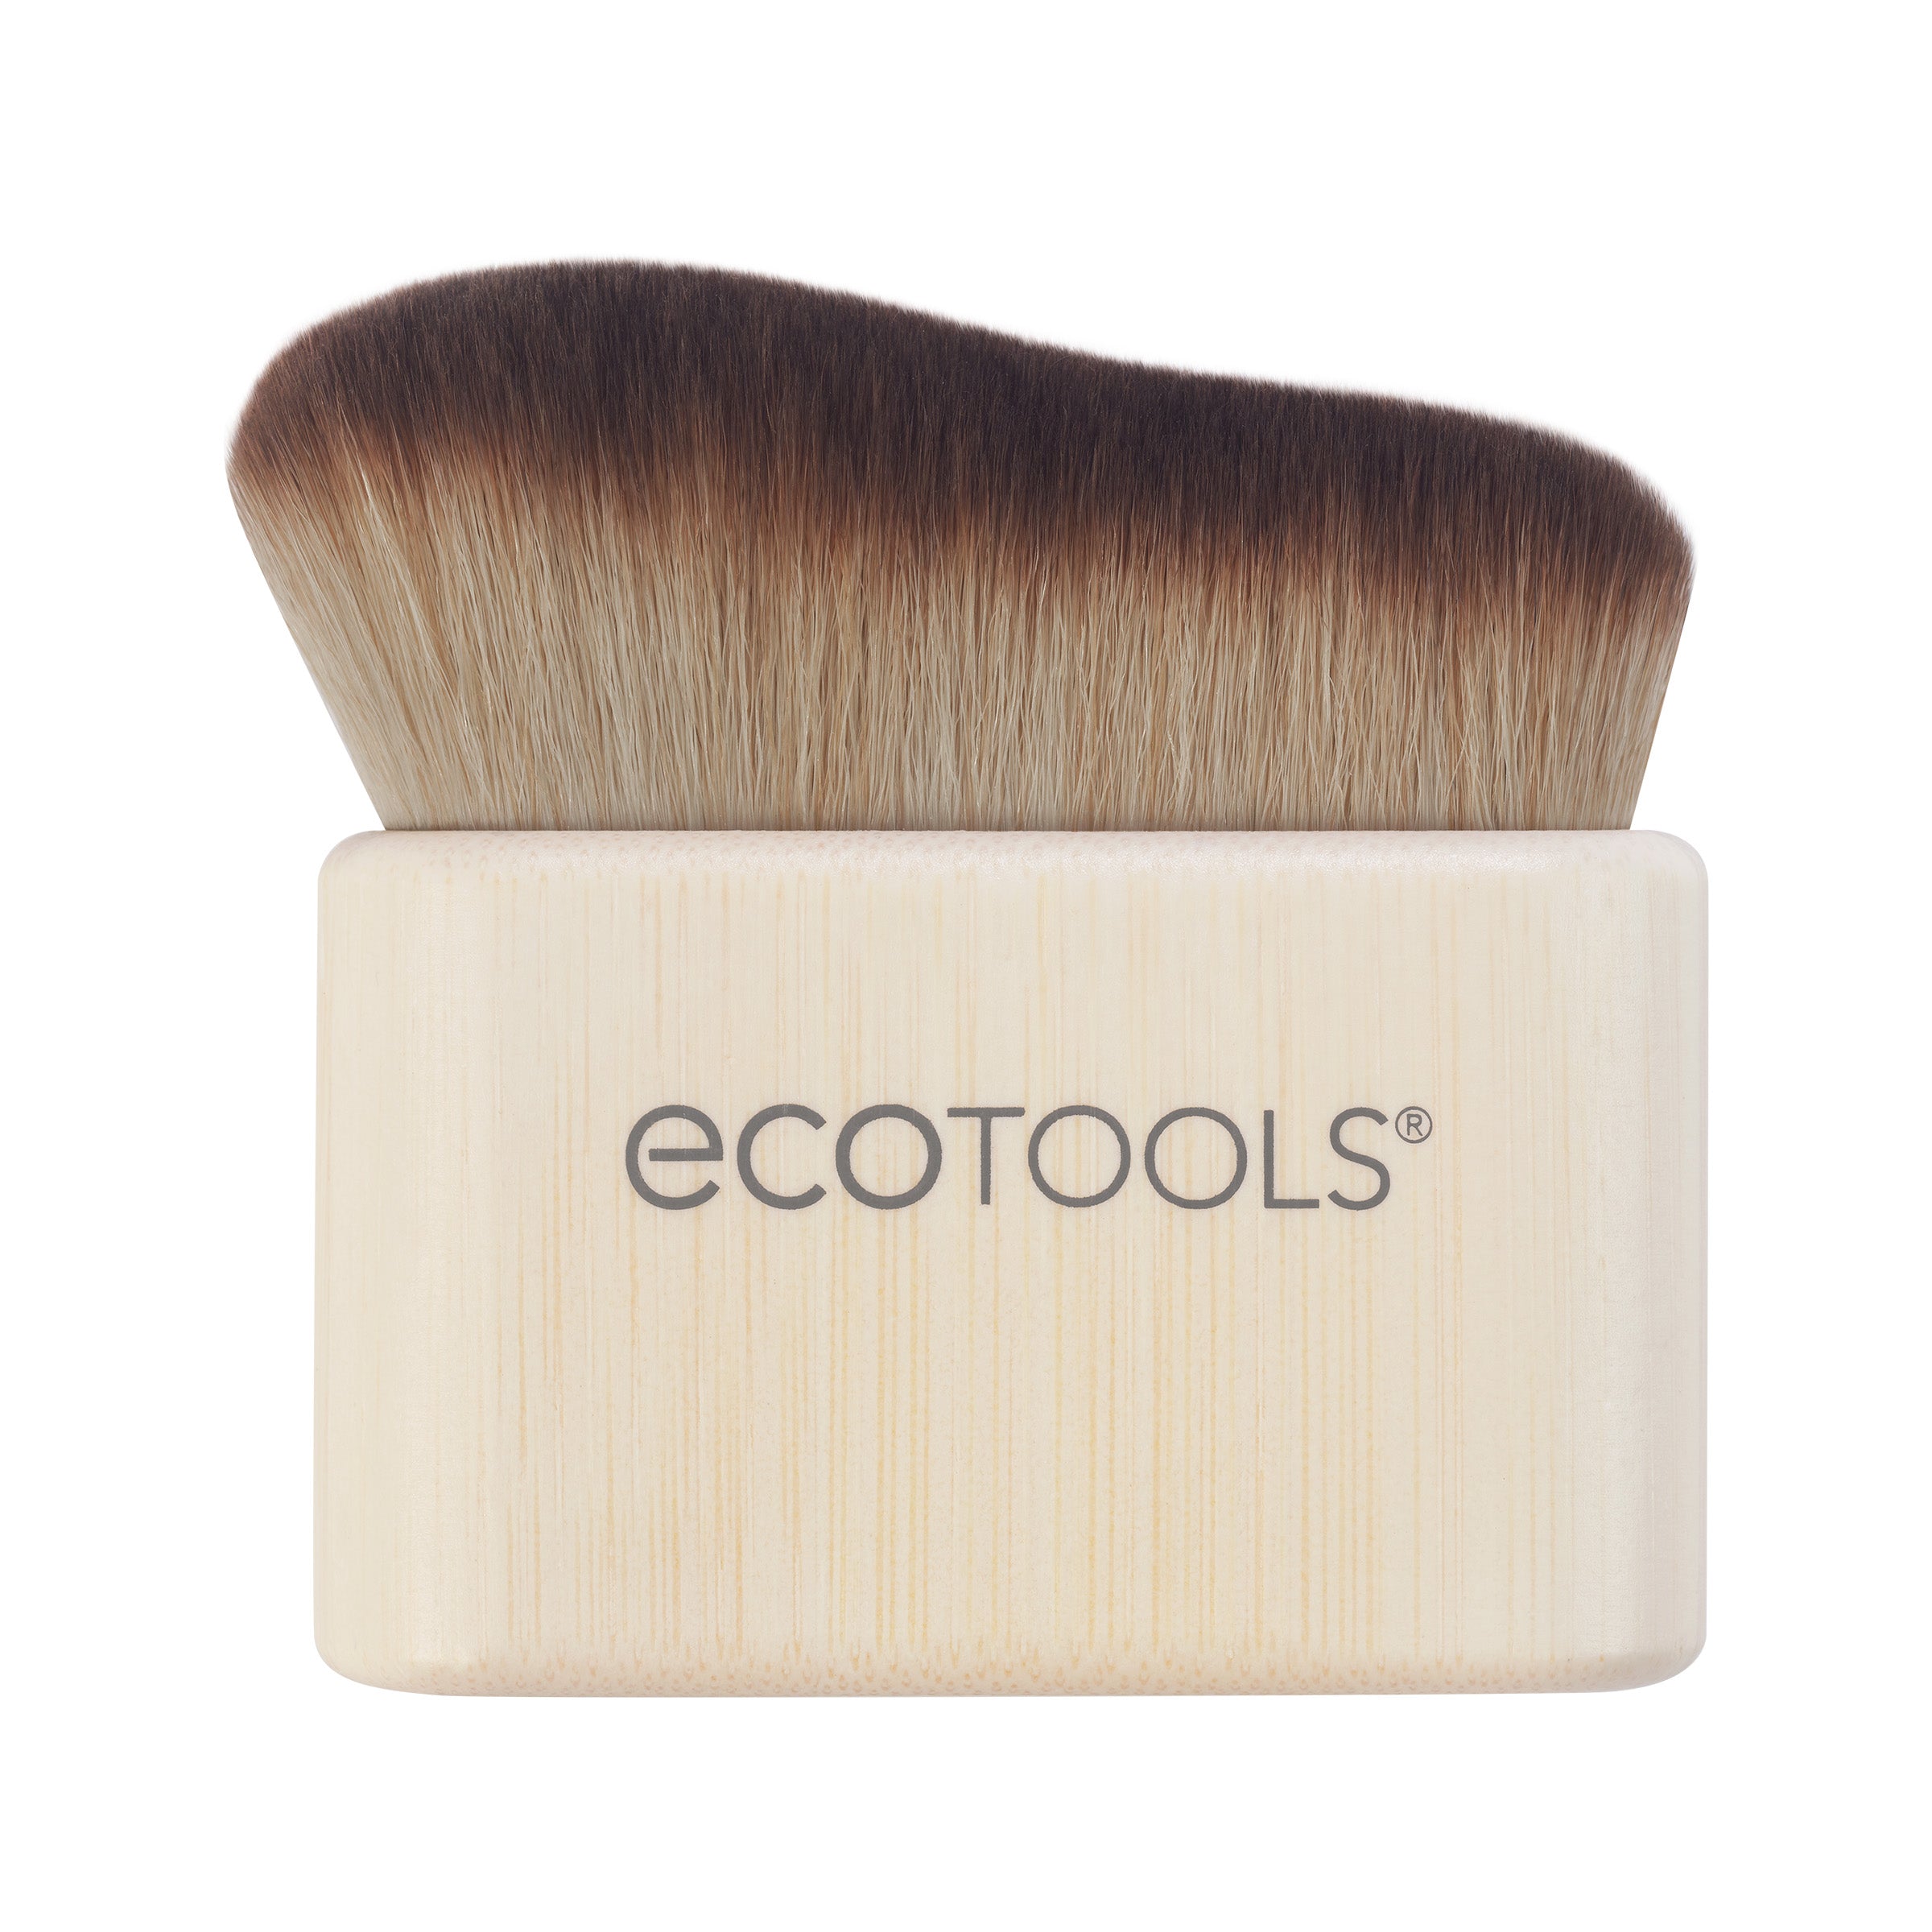
Application Brushes
Brushes are perfect for precision areas like hands, feet, ankles, knees, and elbows — places where streaks often appear.
Tanning Mists & Sprays
Lightweight mists are ideal for gradual color building and quick touch-ups, especially for beginners.


III. Mitt vs. Brush: Pros and Cons
Choosing between a mitt and a brush depends on where and how you’re applying your self-tan.
Using a Tanning Mitt
Pros
-
Fast coverage for large areas (legs, arms, torso)
-
Smooth, blended finish
-
Beginner-friendly
Best for: Full-body application
Using an Application Brush
Pros
-
High precision
-
Perfect for small or dry areas
-
Helps prevent product buildup
Best for: Hands, feet, ankles, knees, elbows, face edges
The real secret?
Most experienced self-tanners use both — a mitt for the body and a brush for detail work.


IV. Tips for a Streak-Free Application
Even the best tools won’t help without the right technique.
1. Prepare Your Skin
-
Exfoliate 24 hours before tanning
-
Moisturize dry areas lightly (elbows, knees, ankles)
2. Choose the Right Tool
-
Mitt for large areas
-
Brush for precision
-
Mist for layering and touch-ups
3. Apply in Light Layers
Build color gradually instead of applying too much at once.
4. Avoid Common Mistakes
-
Skipping exfoliation
-
Rushing application
-
Using one tool for every area
-
Overloading product on dry skin


V. AURA MIST Recommended Tools
At AURA MIST, tools are designed with skin health and ease of use in mind — not just color payoff.
What Makes AURA MIST Tools Different
-
Soft, skin-friendly materials that won’t irritate sensitive areas
-
Even product distribution to reduce streaking
-
Designed for gradual, natural-looking results
Benefits Beyond the Tan
-
Less friction on the skin
-
Better control for beginners
-
A more even fade over time
When paired with AURA MIST self-tanning formulas, these tools help you achieve a glow that looks natural — never patchy or overdone.


VI. Conclusion
A great self-tan isn’t about luck — it’s about using the right tools the right way.
By combining proper skin prep, thoughtful tool selection, and gentle application techniques, you can dramatically improve your results.
Don’t be afraid to experiment. Try different tools, learn what works best for your skin, and build a routine that feels effortless. With the right approach — and the right tools — a flawless, natural glow is always within reach ✨